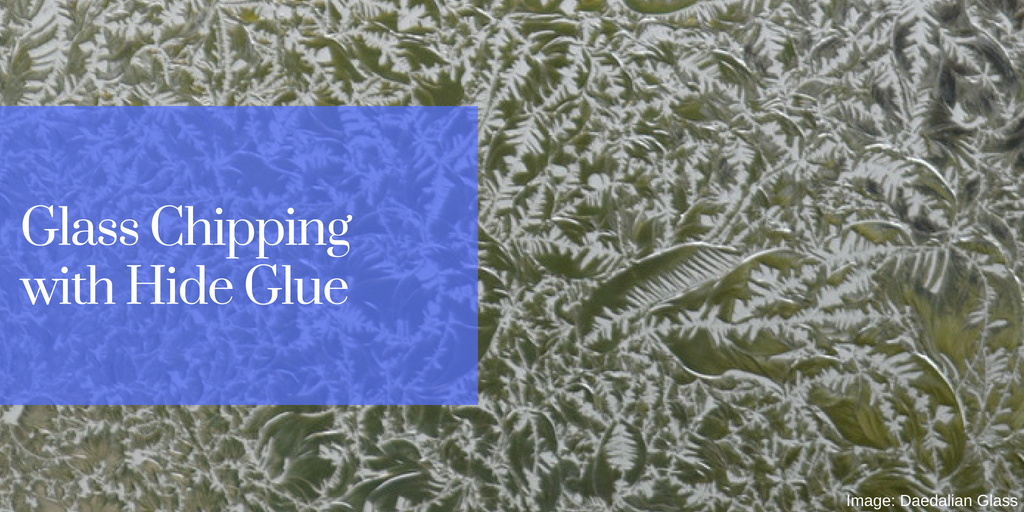
Glass chipping is the process used to add texture to glass.
Often used on decorative doors, cabinets, signs or windows, glass chipping is accomplished by roughing up a glass surface, covering it with hide glue, and allowing the glue to dry and chip away at the glass. This process leaves a unique and beautiful design on the glass surface.
The Process of Glass Chipping
Step 1: The clean glass must be etched or sand blasted first to roughen the surface. This can be done with a light sandblaster, or a diamond etch for smaller pieces of glass. If the glass is not first roughened, the glue will not properly chip the glass.
Step 2: Create your glue mixture of granulated hide glue and water.
Angel Gilding recommends using 3 fluid ounces (90 ml) of water and 1.5 oz (45 g) of hide glue to cover 1 square foot of glass. Make sure that glue and water are properly mixed and the mixture is smooth.
Step 3: The hide glue mixture should be heated in a glue pot to 140-150° F. Make sure not to go above this temperature, as the glue could begin to burn.
Step 4: The hot glue mixture can now be poured onto glass at approximately 1/16" thickness. If the glue film is too thin, the glass will not chip. If the glue film is too thick, it will take much longer for the glass to chip.
Step 5: Let it cool. The glue-covered glass should be left to dry until hard. This can be dried at room temperature and humidity.
Step 6: As the glue cools it will attach to the rough glass. Once the glue is completely hard, place the glass is a warm, dry environment (about 90°F and 20% humidity). The hardened hide glue will begin to shrink and crack off and the glass underneath will be chipped away.
Glue chipping is a slow process, and can take 24 hours or more to be complete. Be careful during this process, as the hard glue and glass shards may pop with high pressure.
Glass Chipping In Action
Eco-friendly hide glue (animal glue) plays a major role in the glass chipping process. Learn more about hide glue today.

